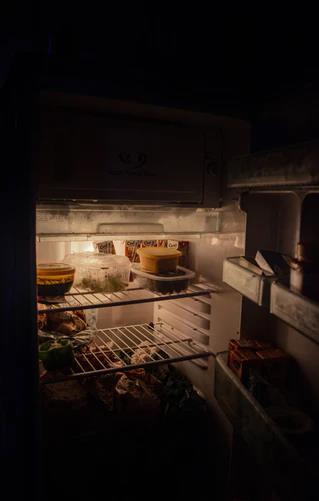
The ice-cold drink you usually have on a hot summer afternoon is only possible with your refrigerator’s convenient ice maker. And when you one day notice that your ice maker stops operating all of a sudden, you should call for professional help. But before you do that, there are a few things you can do to ensure that your 30-inch refrigerator’s ice maker is malfunctioning.
Water not reaching the ice cube tray could suggest a problem brewing in your garage-ready refrigerator’s water inlet valve. However, it may only sometimes be the case. The water line from the water valve to the ice maker may be frozen, blocking water from getting into the equipment. A blocked water filter could result in little or no water flowing to the ice maker or dispenser.
And, to check that neither of them is the foundation of the issue, we here at DaDongNY will provide you with a step-by-step guide on diagnosing your refrigerator’s water inlet valve. We will also show you how to remove and install a new water inlet valve so that you can take care of the issue and save time and money.
But First, How Does A Refrigerator Water Inlet Valve Work?
The water inlet valve is usually positioned behind your refrigerator, connected to the water supply. Most water inlet valves have a small filter screen right where the water supply line connects to avoid mineral accumulation or other debris from reaching the refrigerator.
They are regulated by a solenoid, a tight coil of wire that functions as an electromagnet when a current is sent through it. And once the solenoid receives the signal, it activates the plunger valve, letting the water pass through and fill the ice tray or be dispensed as needed.
Signs Of A Problem With The Water Inlet Valve
One of the most common indications that your water inlet valve is faulty is that your ice maker isn’t running smoothly. It’s possible that you don’t have any ice at all, the ice produced by your refrigerator is smaller than usual, or that it has been clumping together.
Another sign is that your water dispenser is dispensing water slowly or not at all. The following factors frequently cause these problems:
- There is a breach in the coil;
- Mineral deposits have accumulated on the filter screen;
- And minerals or other debris have passed the screen, forcing the valve to remain open.
And with your ice maker and water dispenser failing, you should first establish whether the issue can be attributed to an electrical or mechanical failure before deciding whether to replace your water inlet valve or whether it is repairable.
Checking The Water Inlet Valve For Electrical Malfunction
To investigate if your water inlet valve has an electrical issue, unscrew the refrigerator water valve, typically placed at the lower back of the refrigerator. Check the continuity and electrical charge of the valve solenoid coils using a digital multimeter.
Step #1: Unplug the water supply connection to the valve and disconnect the wires from the solenoid coil terminals. Each model will have a different number of coils, and each coil can have two terminals.
Step #2: Adjust the digital multimeter to the lowest Ohms of resistance and make sure the meter is calibrated correctly.
Step #3: Put one probe on one terminal and the second probe on the other. Repeat for each solenoid circuit. If the meter reads infinite Ohms of resistance and the screen of your digital meter or the tip on an analog meter does not move, the water inlet valve of your refrigerator has no continuity and is broken.
Checking The Water Inlet Valve For Mechanical Malfunction
To determine whether your water intake valve has a mechanical issue, first rule out a water supply problem and then perform the following:
Step #1: Remove the water supply line from the valve.
Step #2: Put a bucket underneath the water supply line’s end.
Step #3: Check the water flow by turning on the supply line. If the water flow appears sluggish or erratic, the water supply is the source of the problem. A strong, continuous flow should indicate that the water valve has become limited or jammed.
How To Remove And Replace The Inlet Valve On A Refrigerator
Now that you’ve decided whether your water inlet valve malfunction is due to an electrical or mechanical issue, let’s start replacing your refrigerator’s water inlet valve with a new one by assembling all of your supplies, especially the new inlet valve purchased. Also, remember to ensure the new component matches perfectly with your refrigerator. The following items will be needed to get rid of and replace the water inlet valve on your refrigerator:
- Utility work gloves;
- Towels;
- Pipe thread tape;
- Wrench;
- Phillips screwdriver;
- And a replacement water inlet valve
First And Foremost
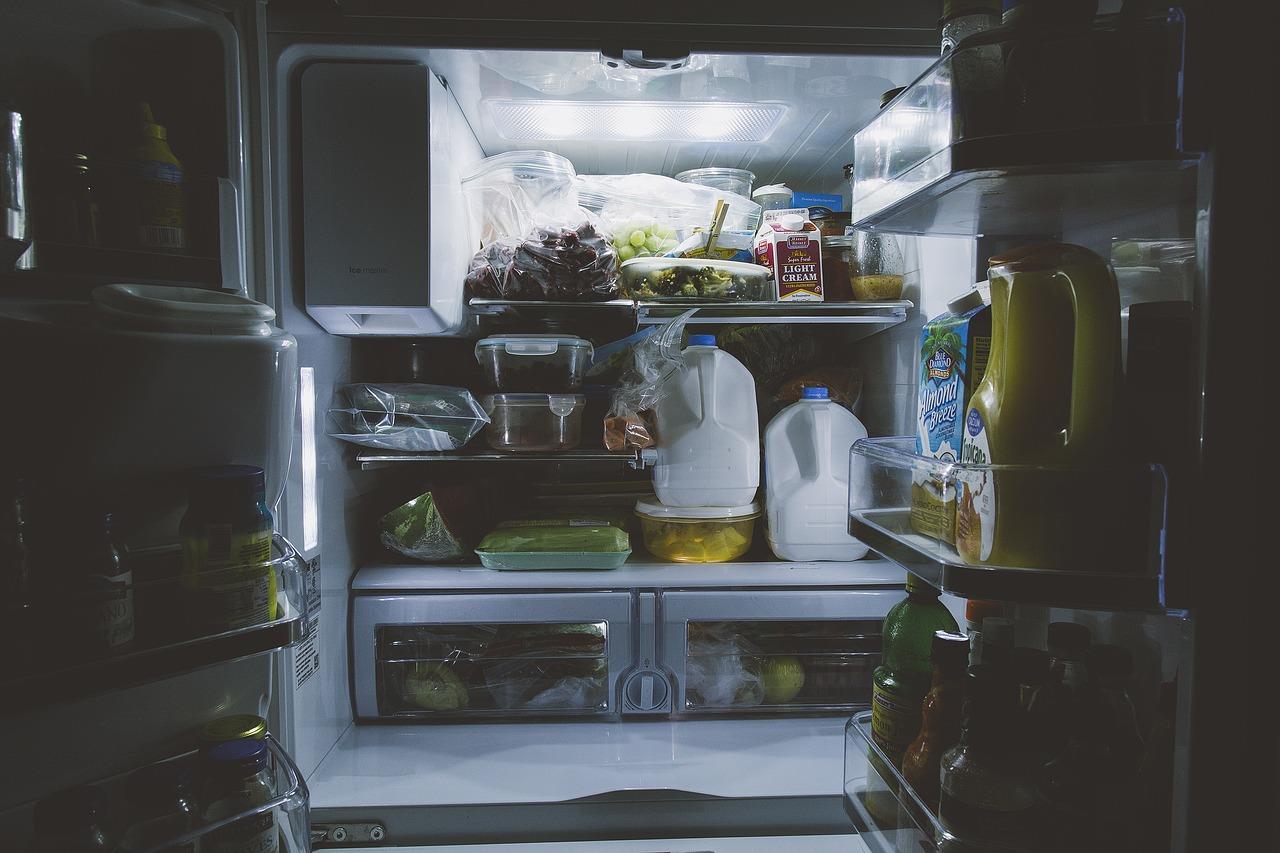
Step #1: Begin by clearing your refrigerator of all perishable food and placing them in a separate cooler. The refrigerator will be turned off throughout the period, which can cause the shelves to shake. Thus it’s better if the items in the fridge and freezer are carefully kept until the repair is finished.
Step #2: Pull your refrigerator carefully out of the corner and away from the side. You’ll need enough space behind the refrigerator to work on the inlet valve. Using both hands on the sides, carefully rock your refrigerator to remove it.
Step #3: Turn off your refrigerator. If the socket is hard to reach, you can also turn off the electricity to your refrigerator.
Step #4: Disconnect the water supply valve behind your fridge. After that, locate the water inlet valve device in the back of the fridge. It should be at the bottom and is usually blue with a water line that goes into it. Put a towel below the valve and loosen the screw to remove the water line.
Remove The Old Water Inlet Valve
Step #5: As you look behind your fridge, you should notice a bottom panel cover secured with two to six screws. Remove the lower panel screws and carefully lift the lower back panel from your refrigerator.
Step #6: Put away both the panel and the screws for later use and put them in a small container to prevent the screws from falling to the ground.
Step #7: Find the water inlet valve, which is located in the back corner of the refrigerator frame. The water inlet valve, which is usually connected to your ice maker through a plastic water line, is the part where you disconnected the refrigerator water pipes while the back panel was still connected.
Step #8: Take out the two screws that hold the valve bracket to the frame of the refrigerator. Put these screws aside and dismantle the water inlet valve.
Step #9: Remove the wire harness, a cluster of wrapped wires connected with a plastic clip, allowing the valve to be relieved of the wire connection.
Step #10: The ice maker’s water line running into the valve can be removed by pressing in and pulling out. Your water inlet valve should now be completely free, and you may throw it out or reuse it.
Replace The New Water Inlet Valve
Step #11: Insert the ice maker water line into the right hole with your new water inlet valve. To lock the pressure attachment, push it in further.
Step #12: Insert the ice maker water line into the right hole with your new water inlet valve. To lock the pressure attachment, push it in further.
Step #13: There should be a mounting spot for the wire harness on the new inlet valve. Attach the wire clip from the refrigerator to the new water inlet valve and lock it into place.
Step #14: Install the inlet valve against the refrigerator frame, with the bracket lined with the corresponding holes. And at last, connect the new water inlet valve to the refrigerator frame with the screws you kept earlier and tighten them all the way.
Last But Not Least
Step #15: With everything done above, you can restart your refrigerator’s water supply by reconnecting the water line to the new water inlet valve through the rear panel opening.
Step #16: Reconnect power to your refrigerator after you ensure there isn’t any leakage. If you turn off a breaker, turn it back on. If you unplug the refrigerator, you can simply reconnect it. Once the replacement is complete, it’s time to put your refrigerator to the test.
Step #17: Once you finish, you may now place the refrigerator back into the corner carefully, with your fridge back against the wall. Push it gently and get some assistance if necessary to avoid injuring yourself or shaking the fridge too much when moving it.
Step #18: With your refrigerator functioning again, you can now safely restock the fridge with your favorite frozen foods and cold brew. Furthermore, you can now transfer the food you kept earlier. Be cautious not to avoid blocking the vents, and use this chance to rearrange how you keep goods if needed.
Step #19: Lastly, check to see if your replacement was successful by putting a couple of cups of cold water through the fridge’s dispensing system to see if it pours out clean with no interruptions or leaks. Then give your refrigerator some time to generate some new ice. If all goes well, you’ve successfully replaced your refrigerator’s water inlet valve.
Bottomline
The water intake valve on your under-counter refrigerator is critical since it offers you chunks of ice to enjoy your cold brew and clean and filtered water. But, if the water inlet valve is damaged, it may cause inconvenience and cost you money if not repaired instantly. We hope that this article has assisted you in determining the reason for your water inlet valve issue and how to replace it with a new one.
To learn more about refrigerators and how this valuable piece of equipment chills the food and beverages inside, check out the post here.
Articles You May Be Interested In
- A Cooler Choice: Whirlpool v.s GE Refrigerators (Full Guide)
- Refrigerator Check: LG v.s Samsung Refrigerators (Full Guide)
- Cool Tech Showdown: Frigidaire v.s Whirlpool Refrigerators (Full Guide)
- Fridge Favorites: Bosch v.s LG Refrigerators (Full Guide)
- Cooling Conundrum: Whirlpool v.s Samsung Refrigerators (Full Guide)
- Tale Of The Tape: Maytag v.s Whirlpool Refrigerators (Full Guide)
- Fridges in Focus: Thermador v.s Sub-Zero Refrigerators (Full Guide)
- Fridge Frenzy: Sub-Zero v.s Viking Refrigerators (Full Guide)
- The Big Chill: Whirlpool v.s KitchenAid Refrigerators (Full Guide)
- Refrigerator Bout: Whirlpool v.s LG Refrigerators (Full Guide)